Blog

  • Machine Shop Work Continues

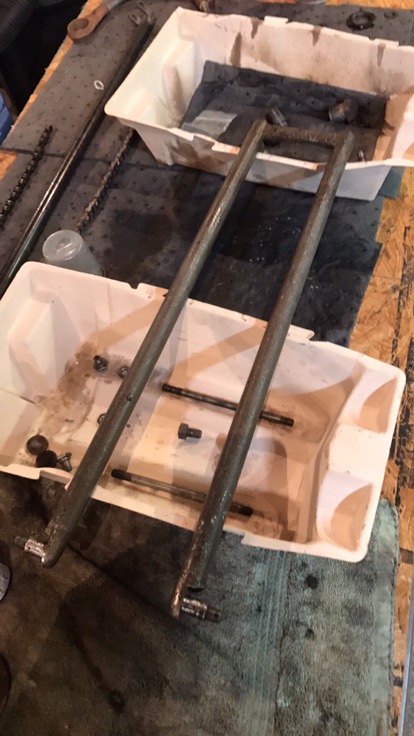
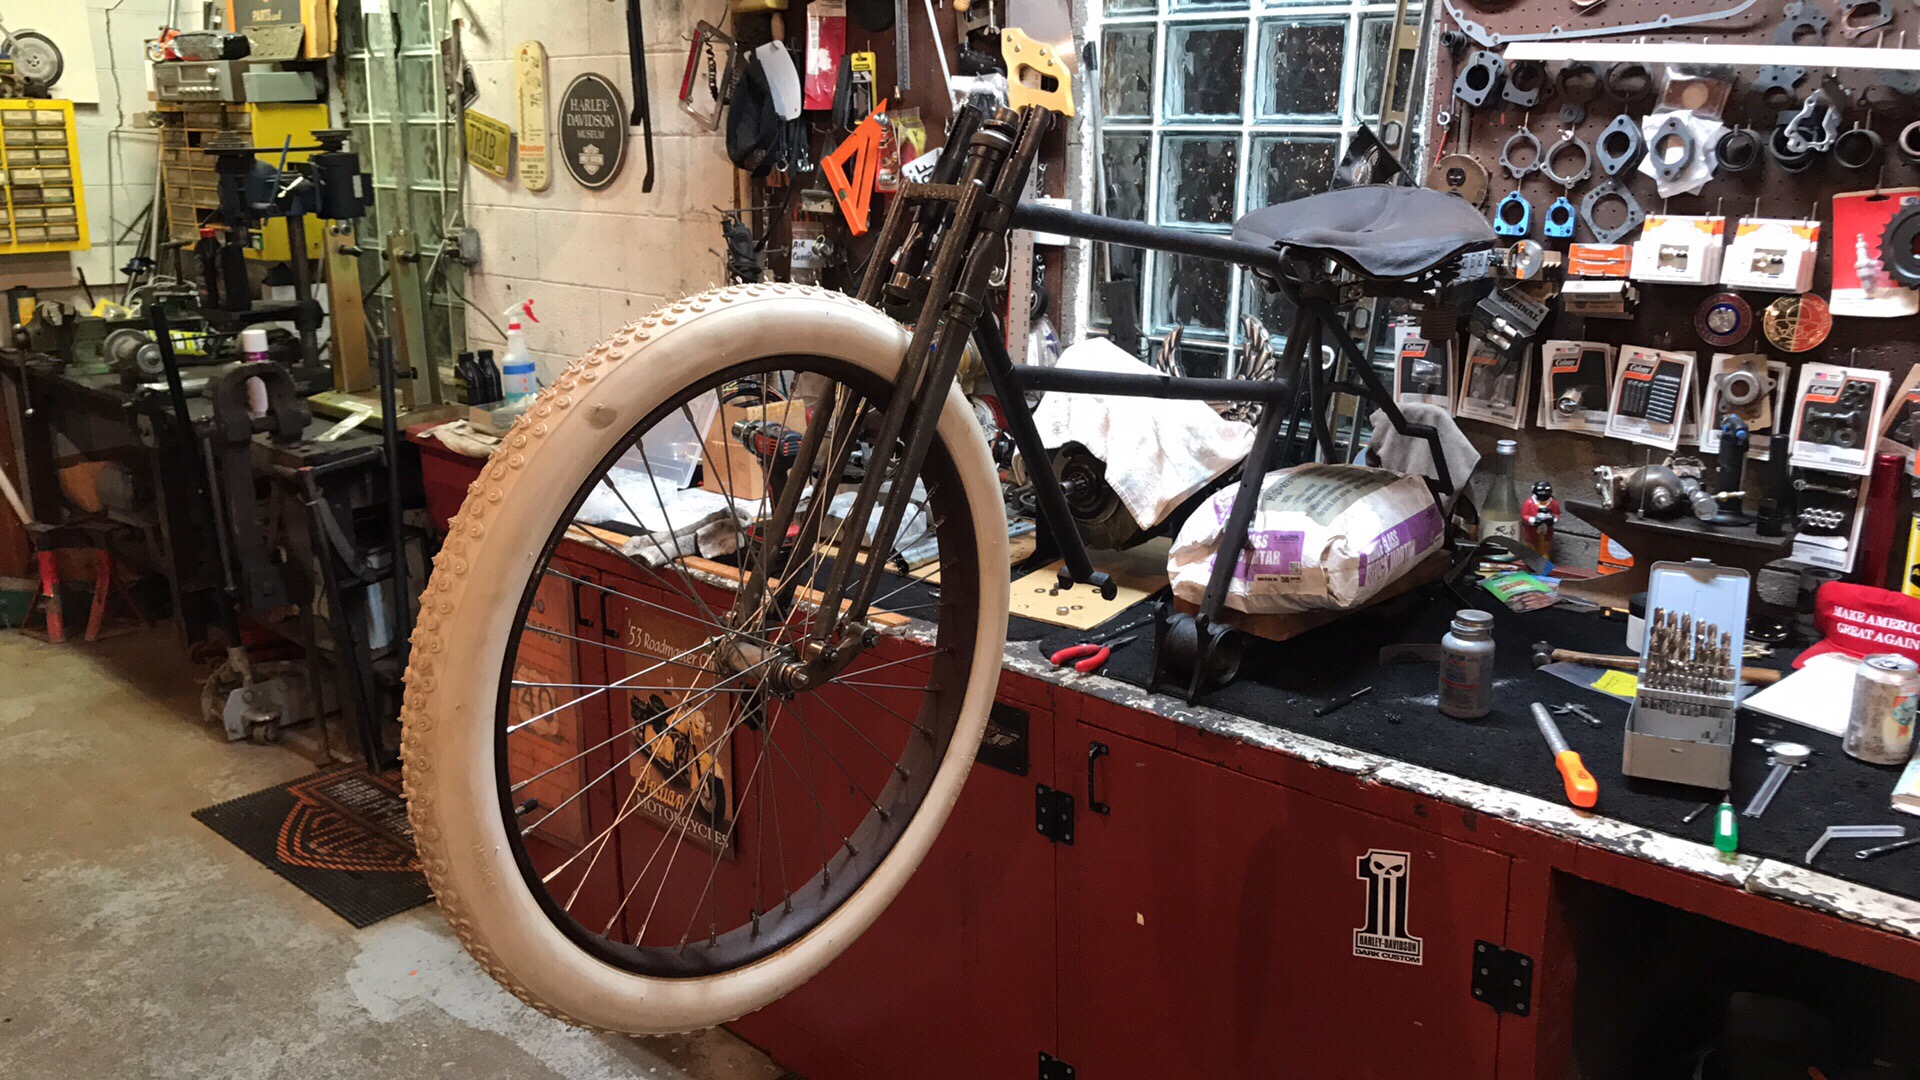
    “That should be easy to make”… famous last words! No such thing with this project. This weekend’s shop time was spent making two components for the handgrip sleeves: the end plug with a raised pin attached and the linkage end. 

    I have an awesome friend with an excellent shop that has agreed to undertake the CAD design work and use of his machines. So we spent time this past weekend producing these two components. 

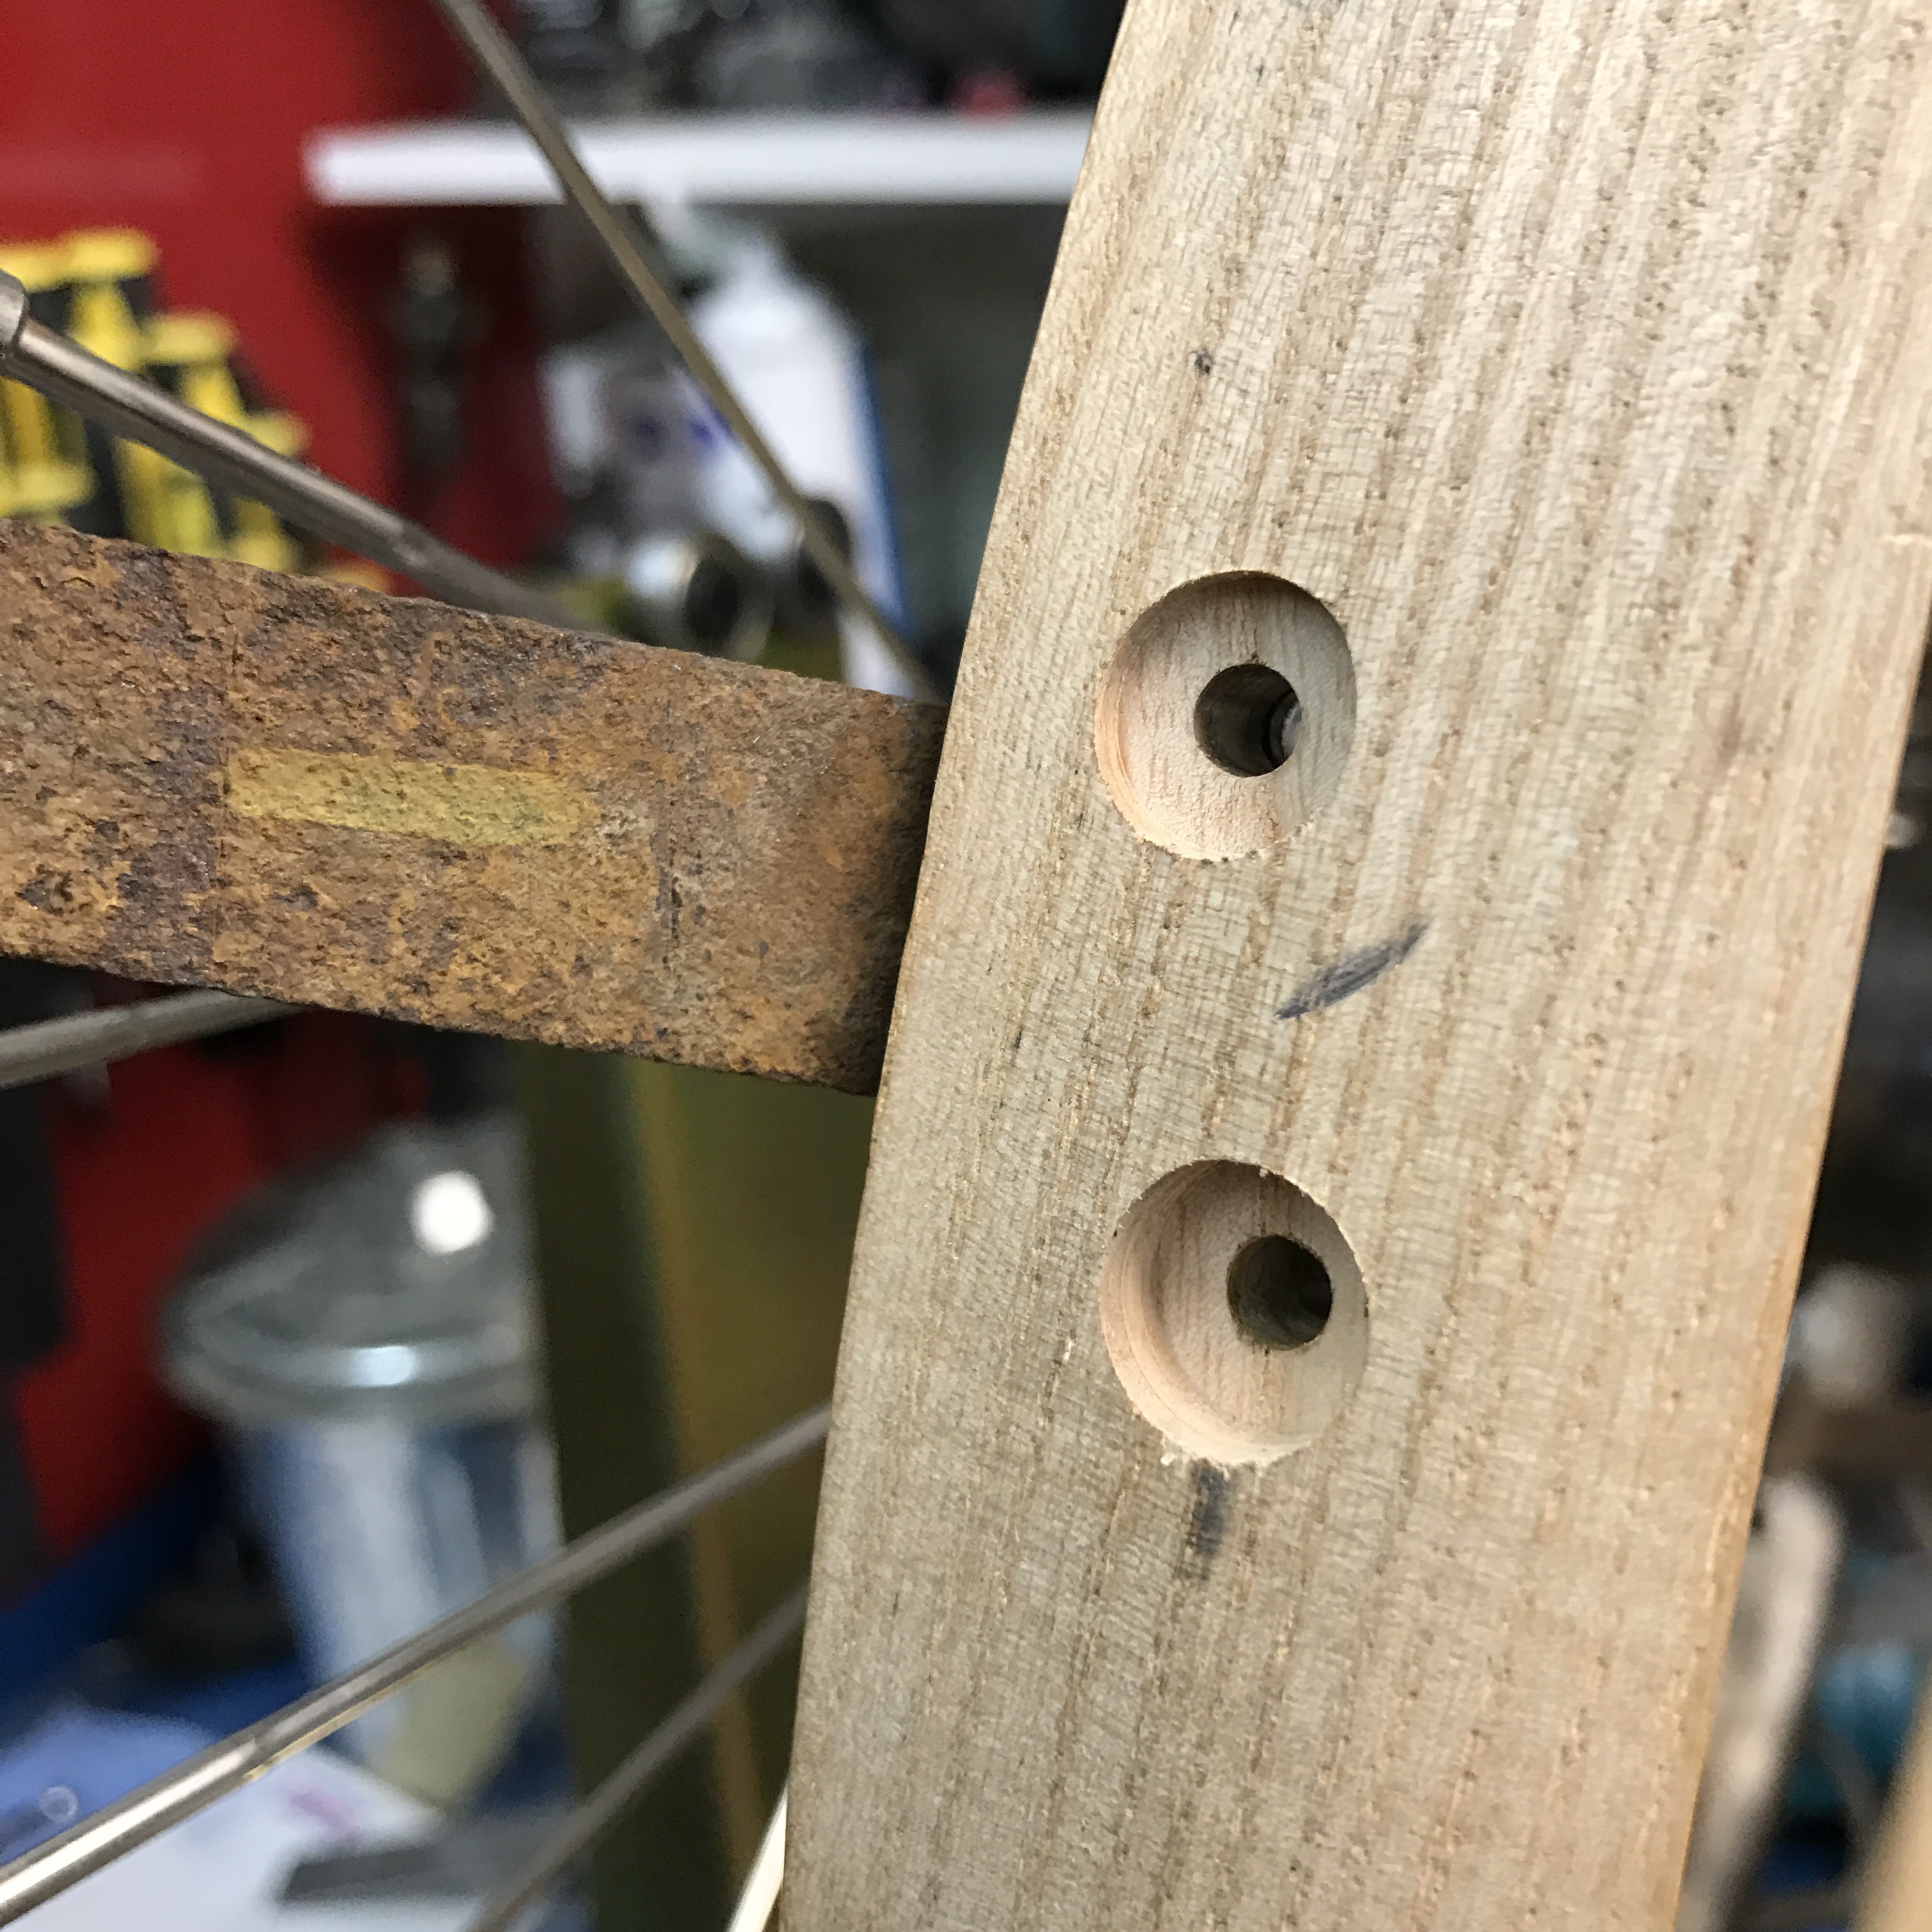
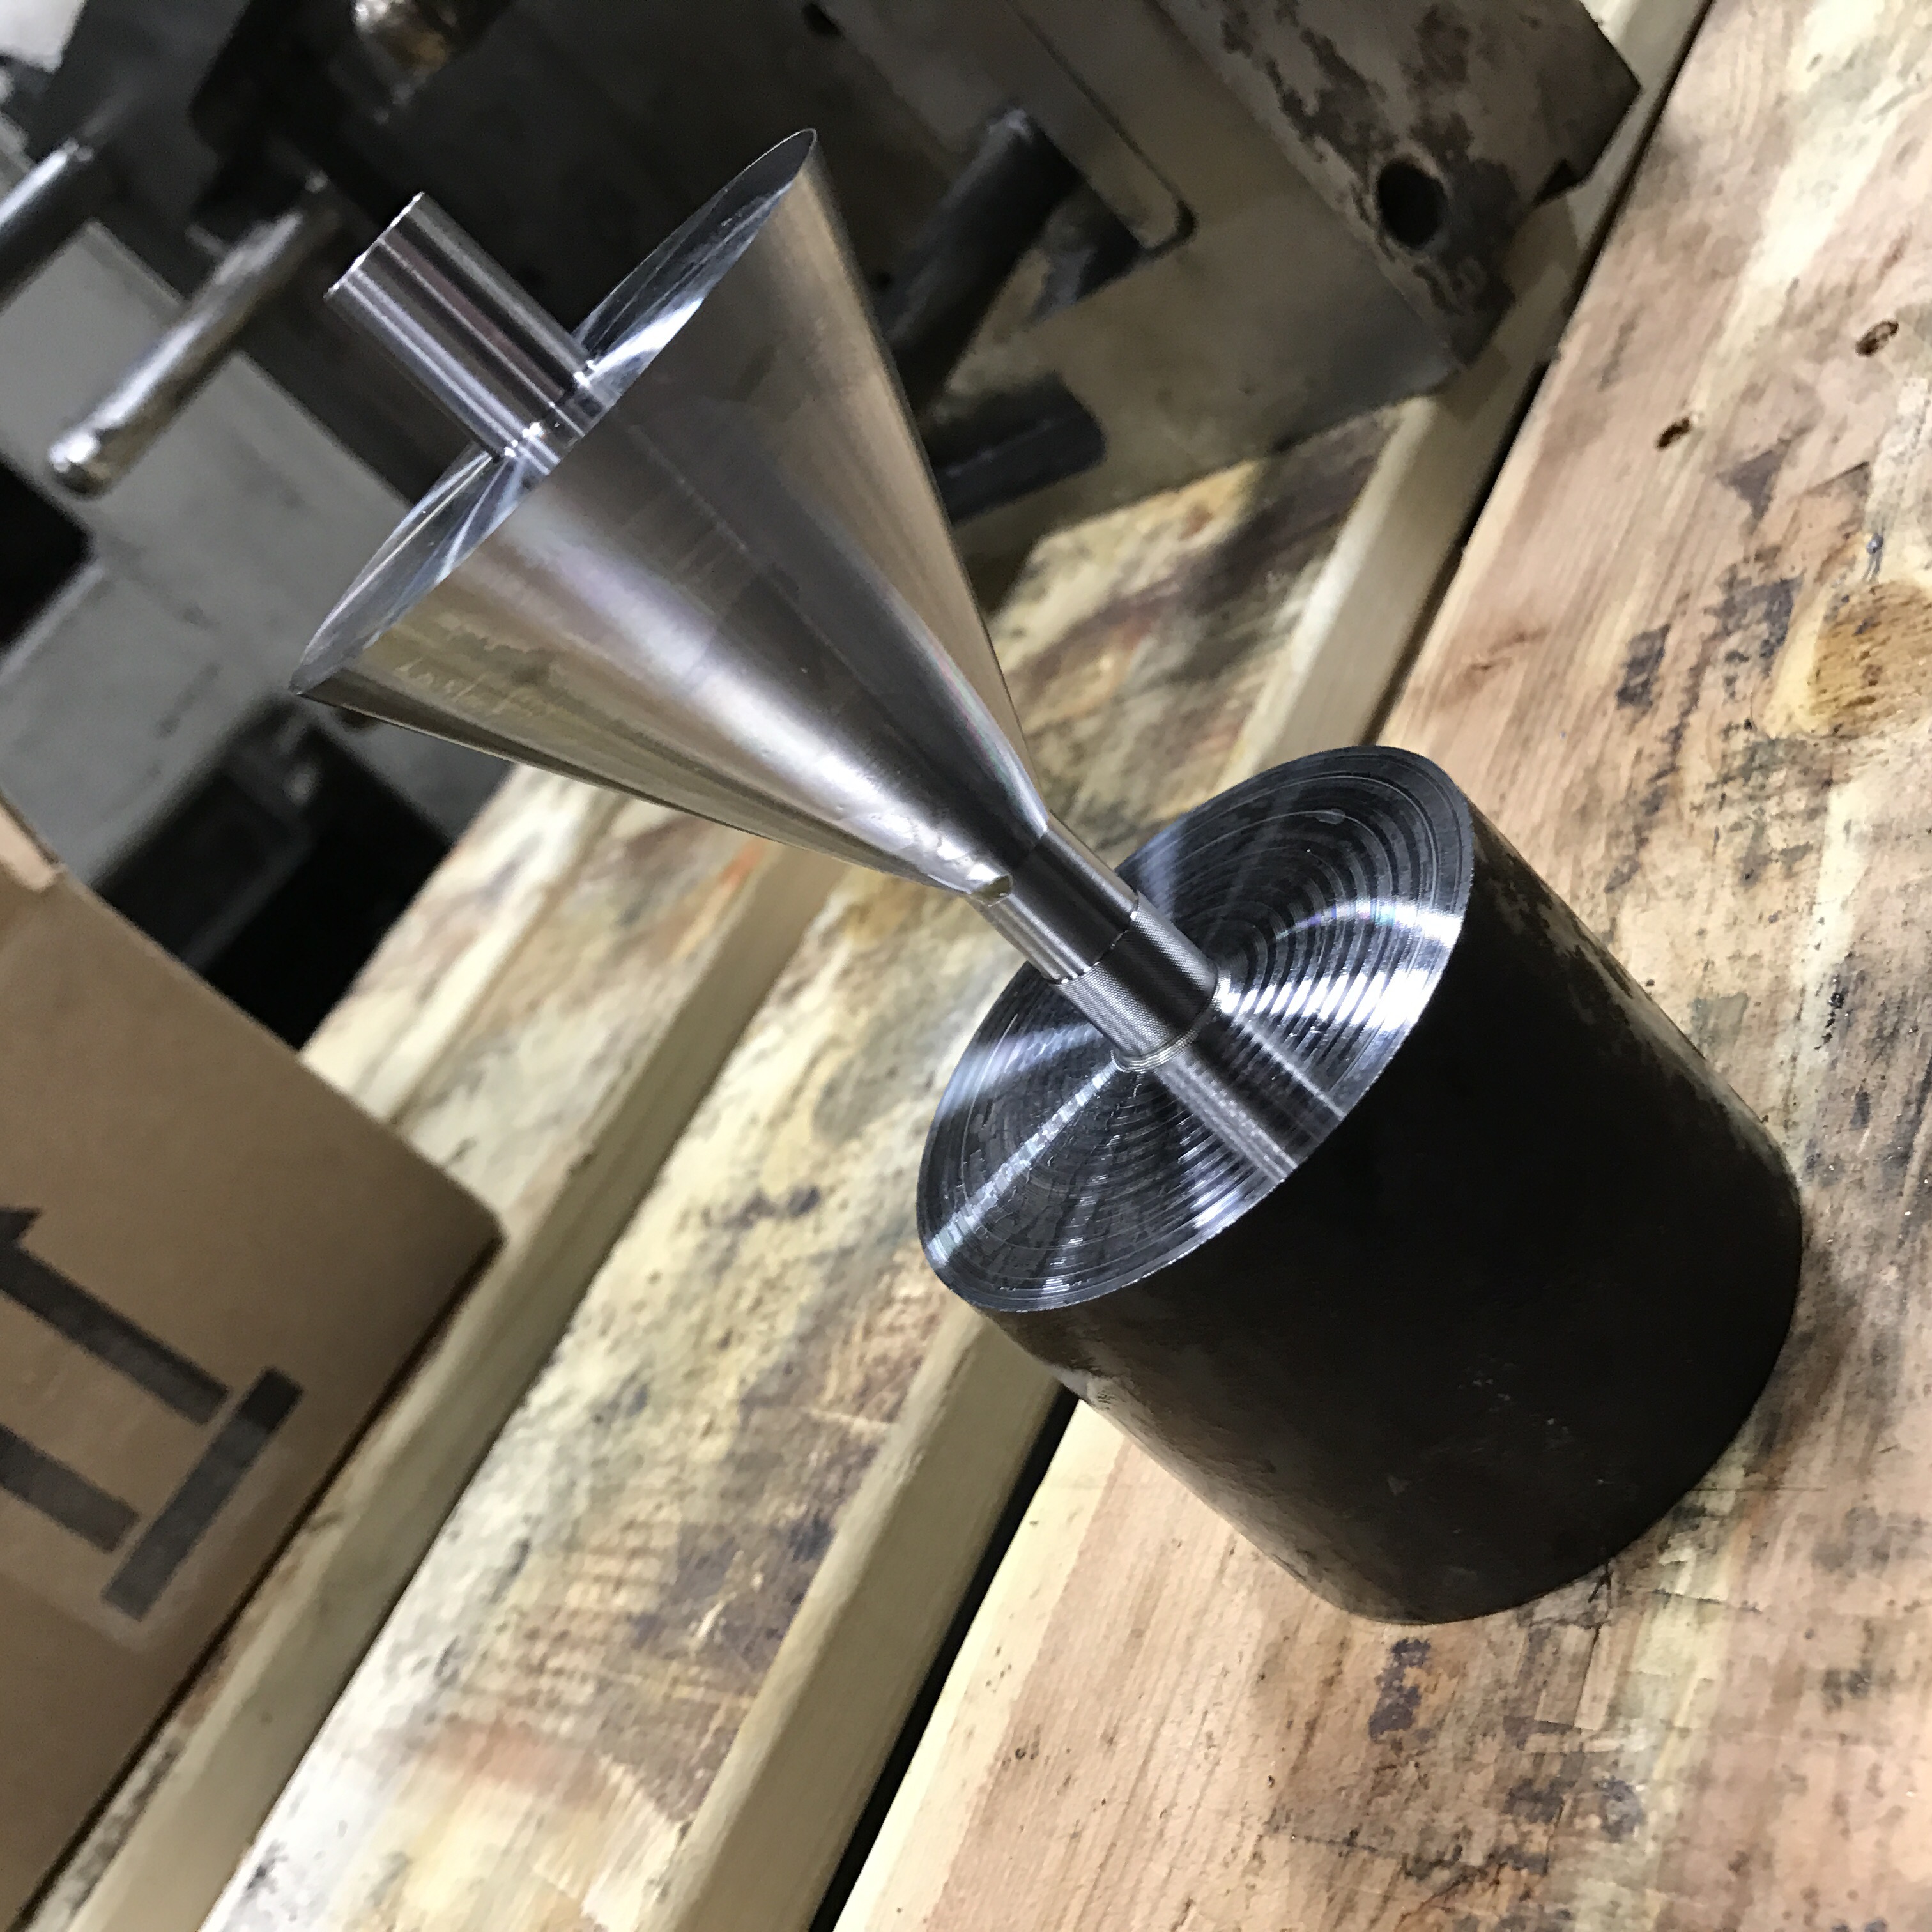
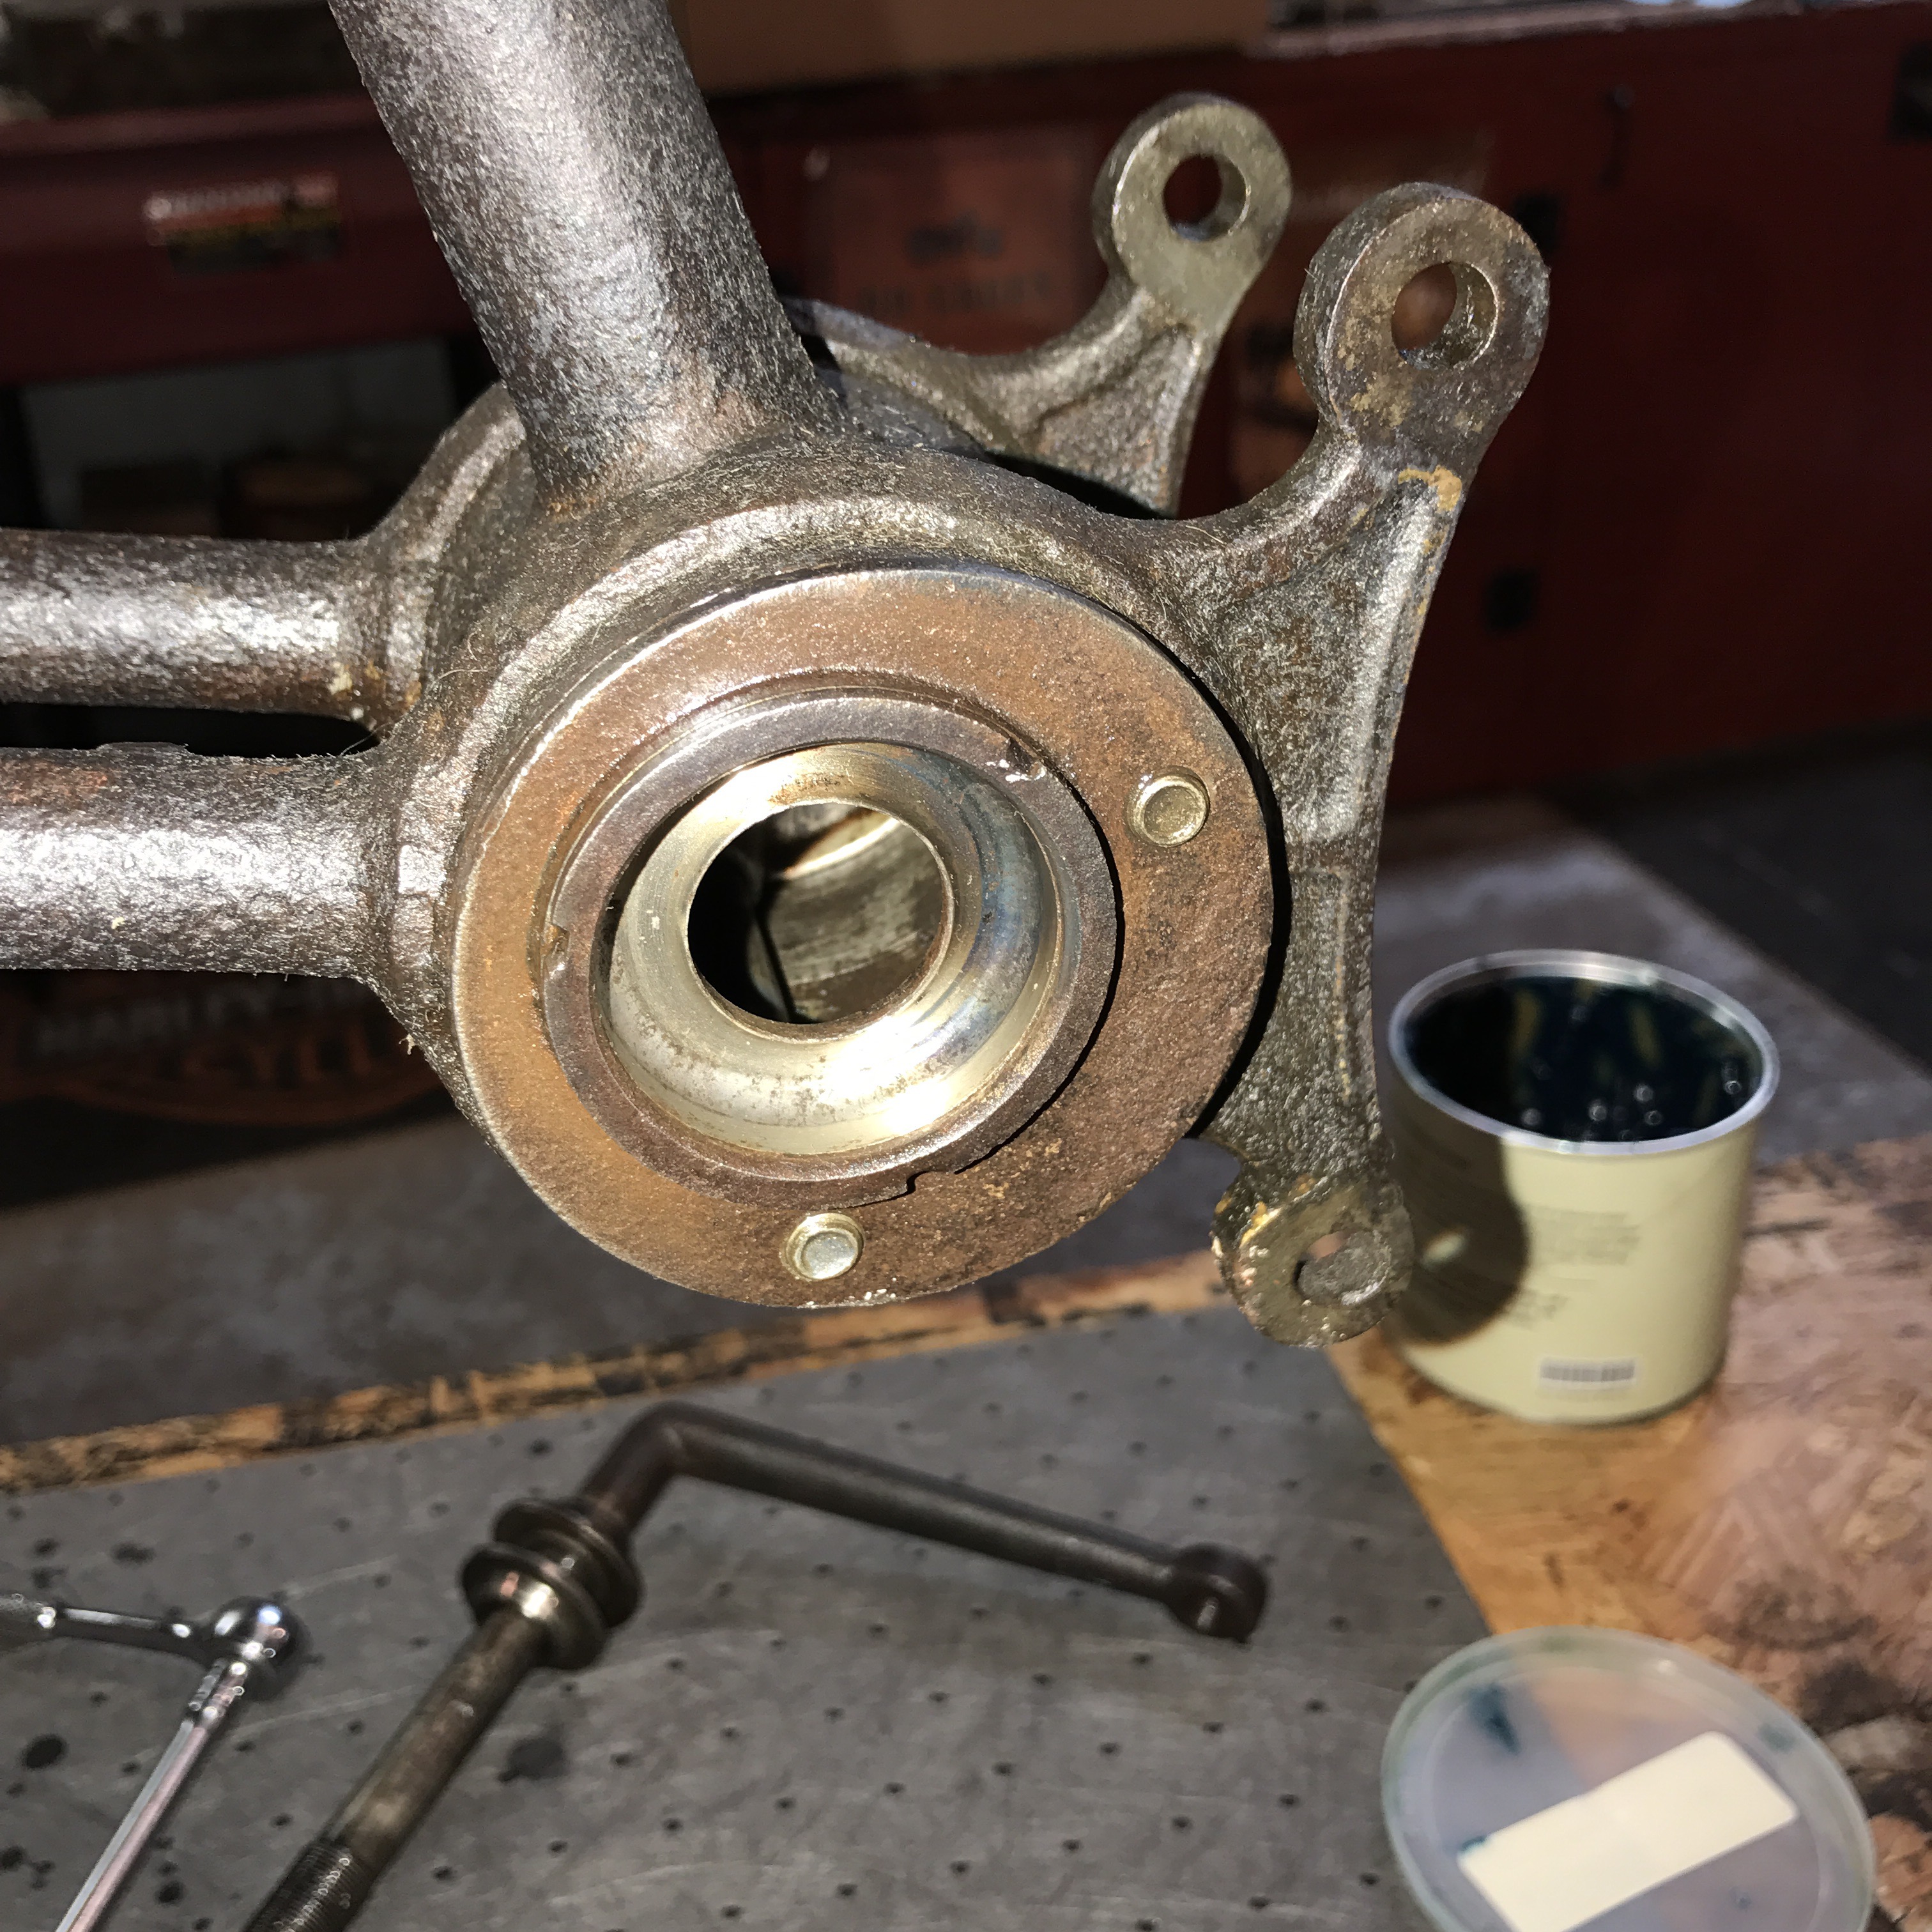
    Here are the end plugs:


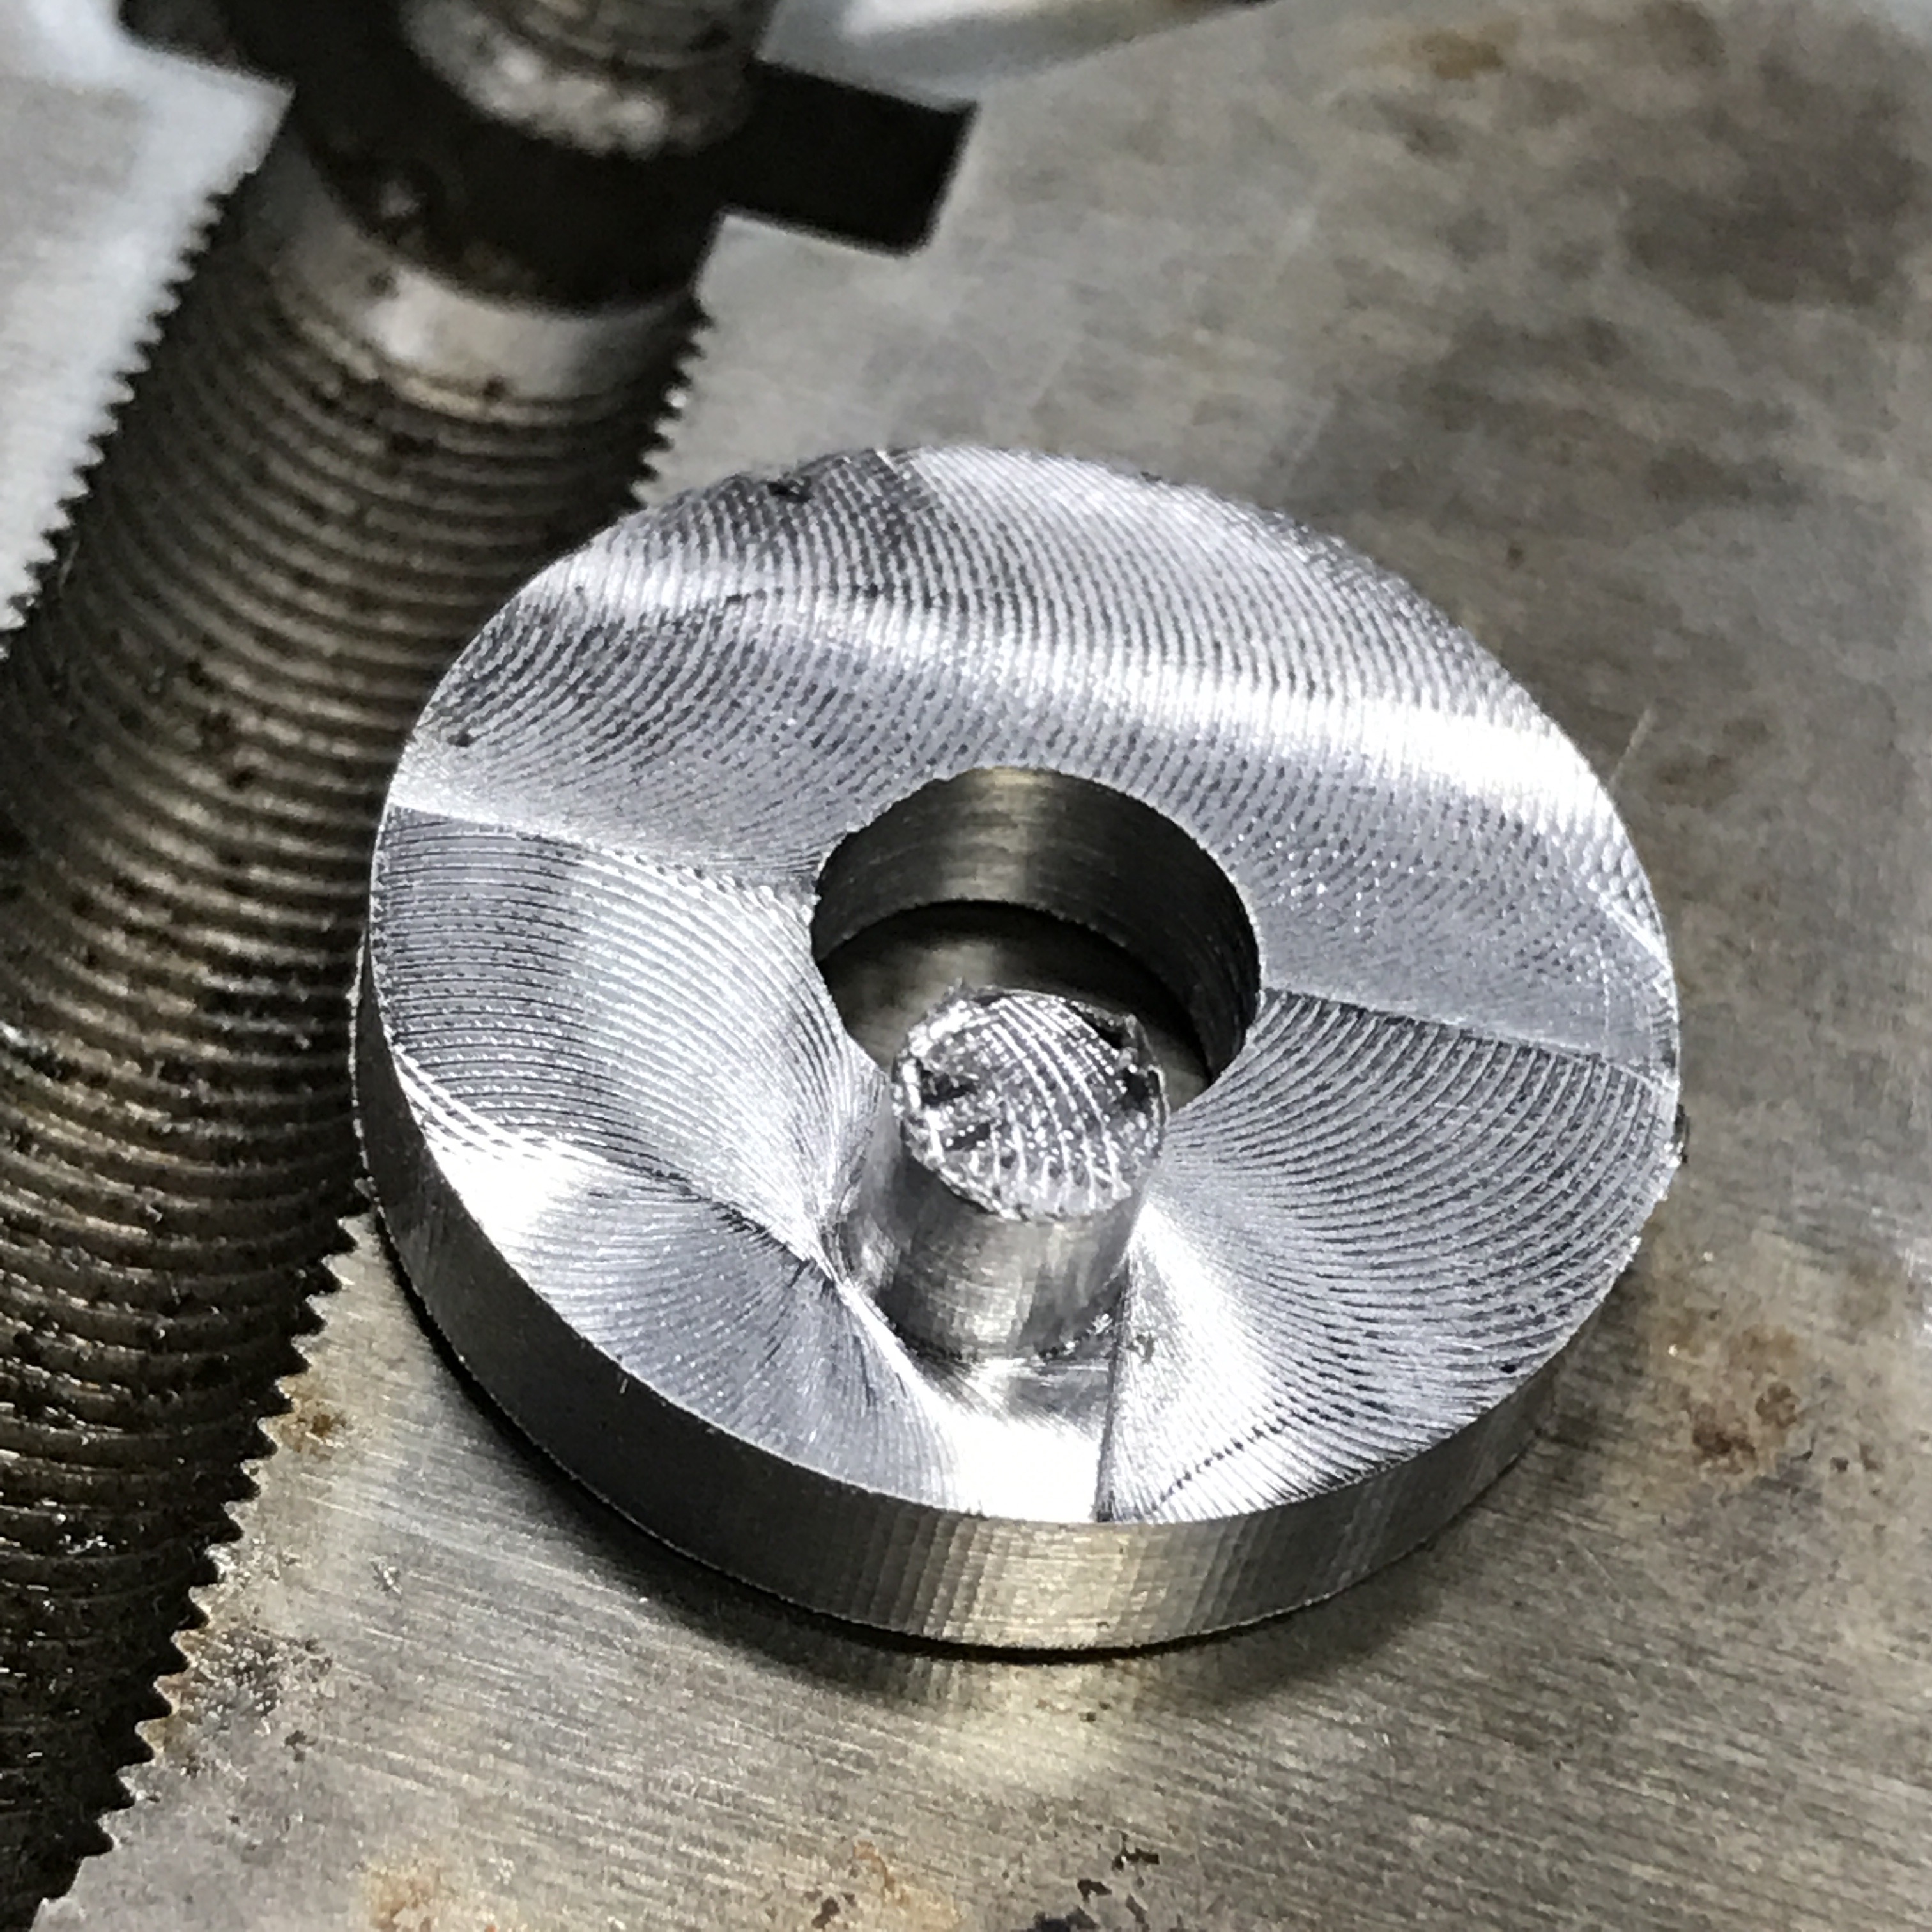
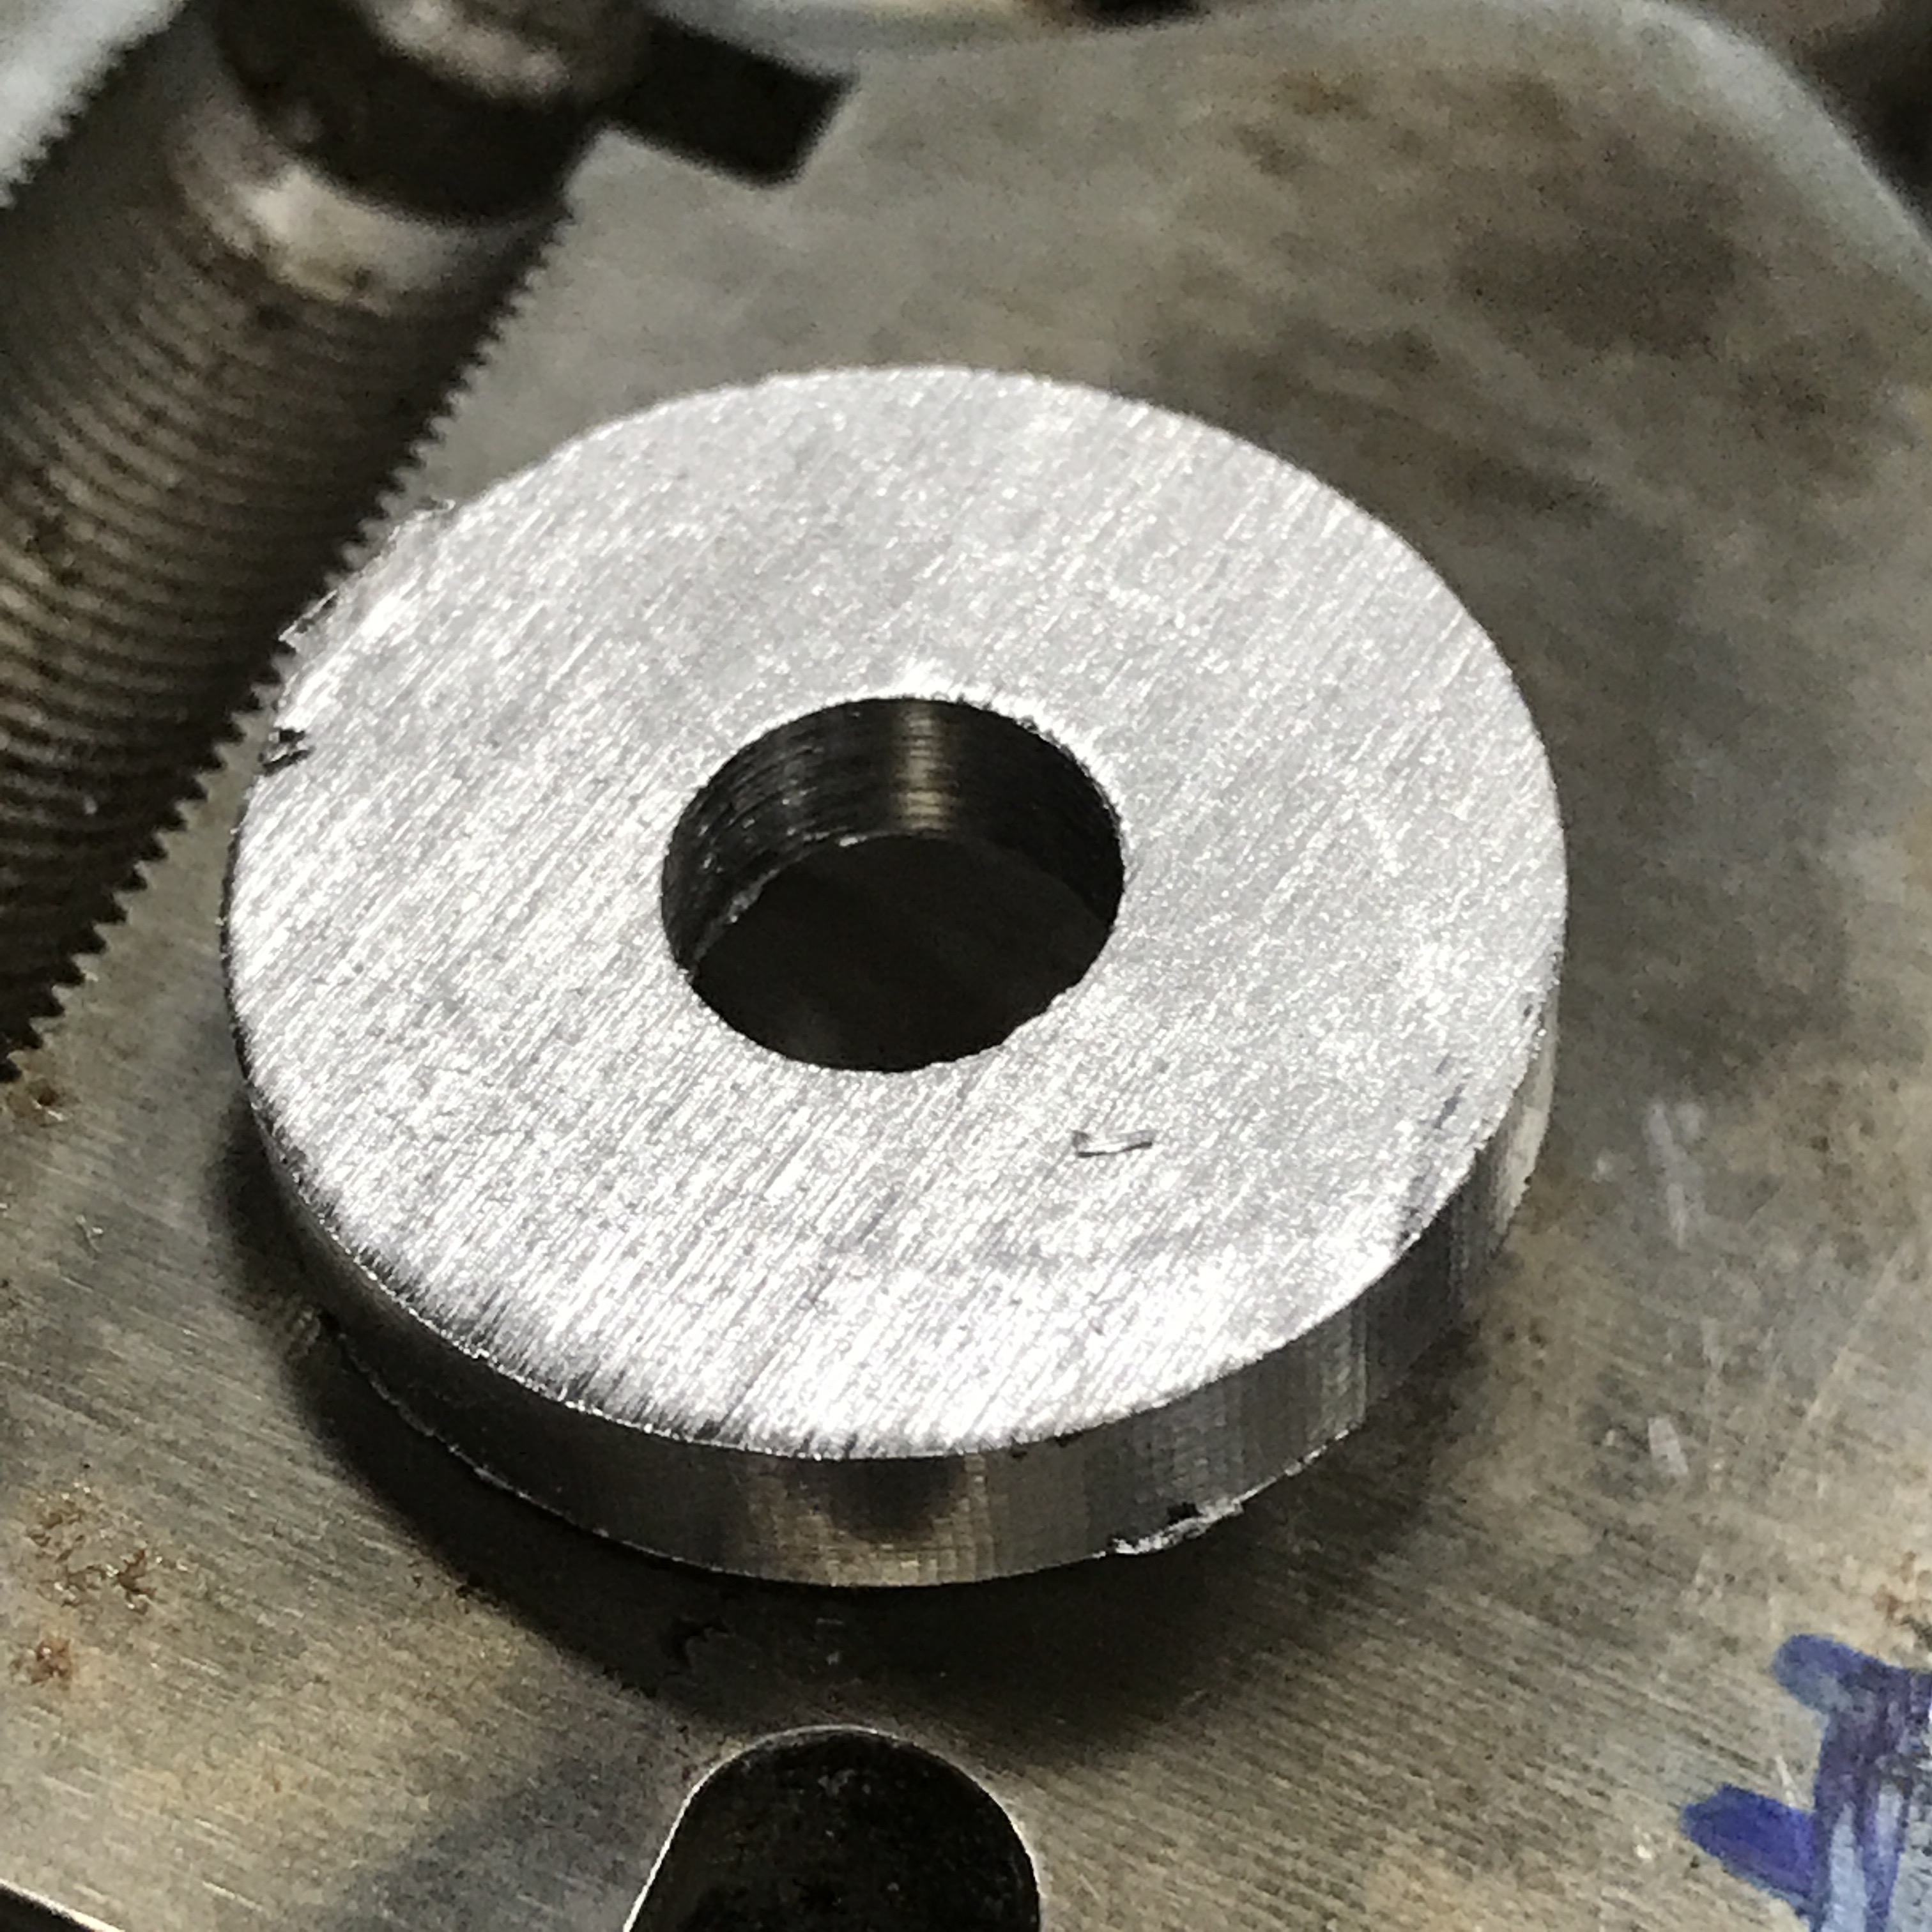
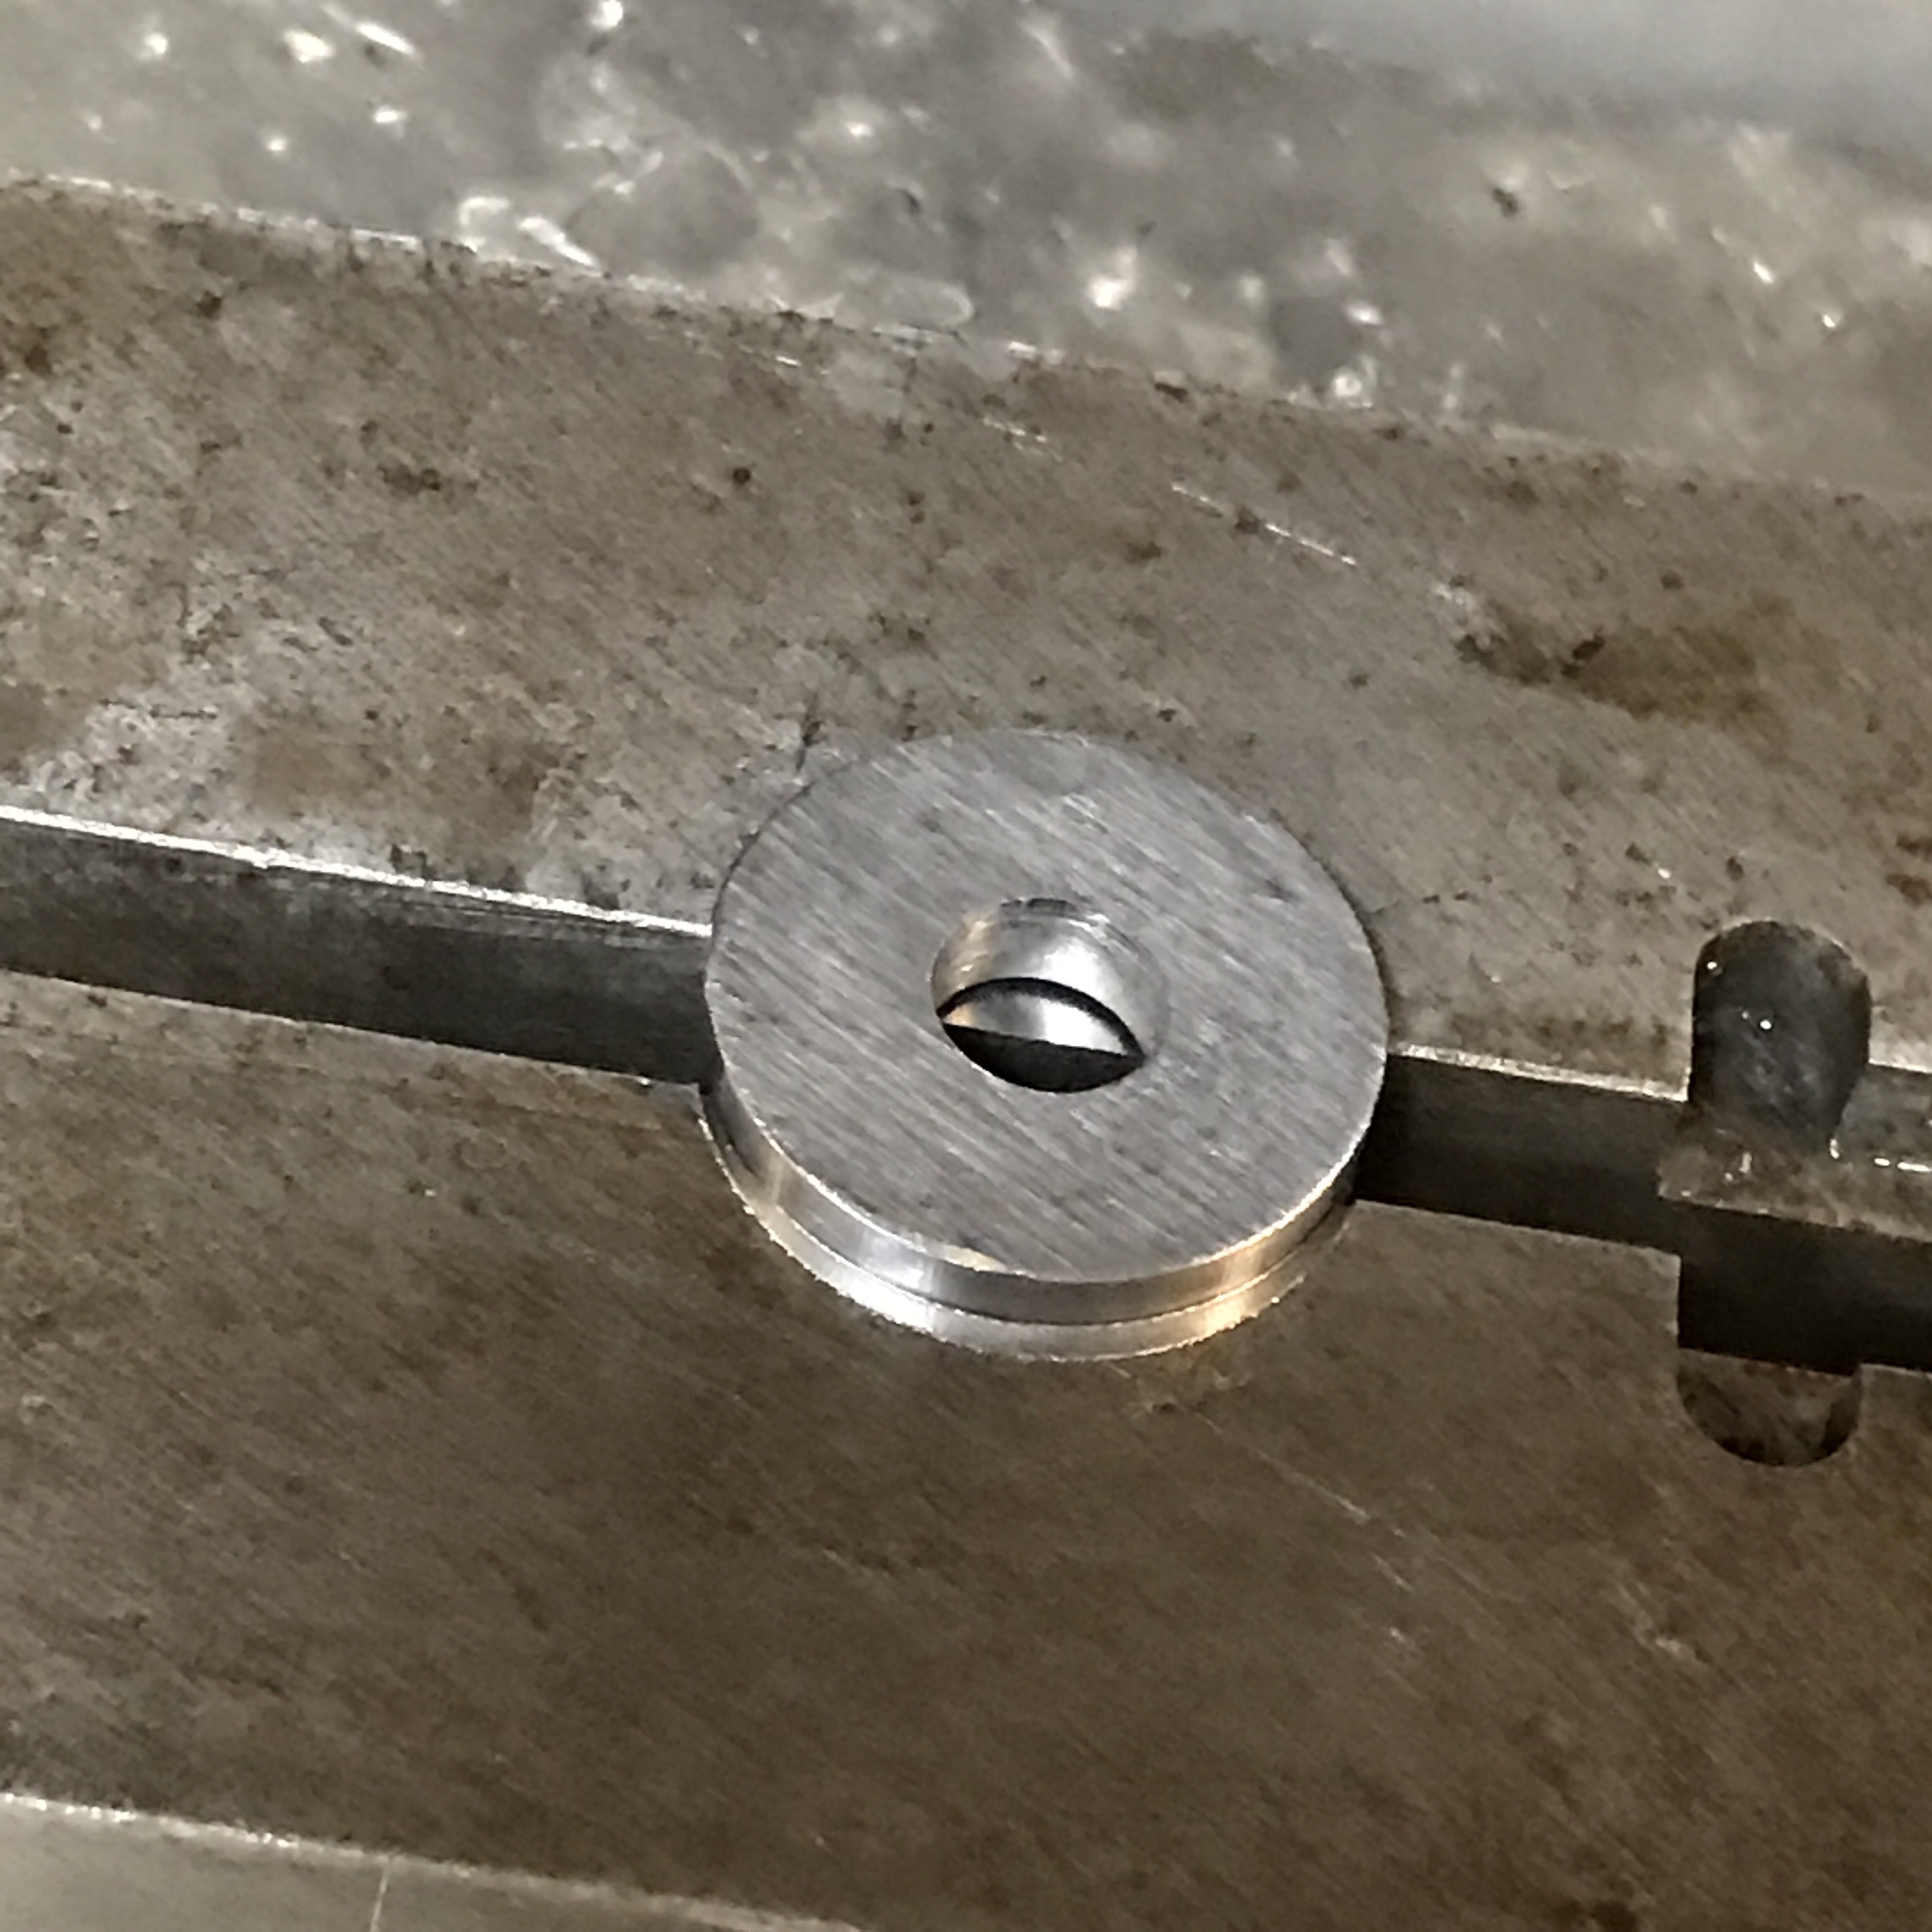
    Each piece is machined from round stock, cut off with automatic hacksaw, then finished in a different machine. 

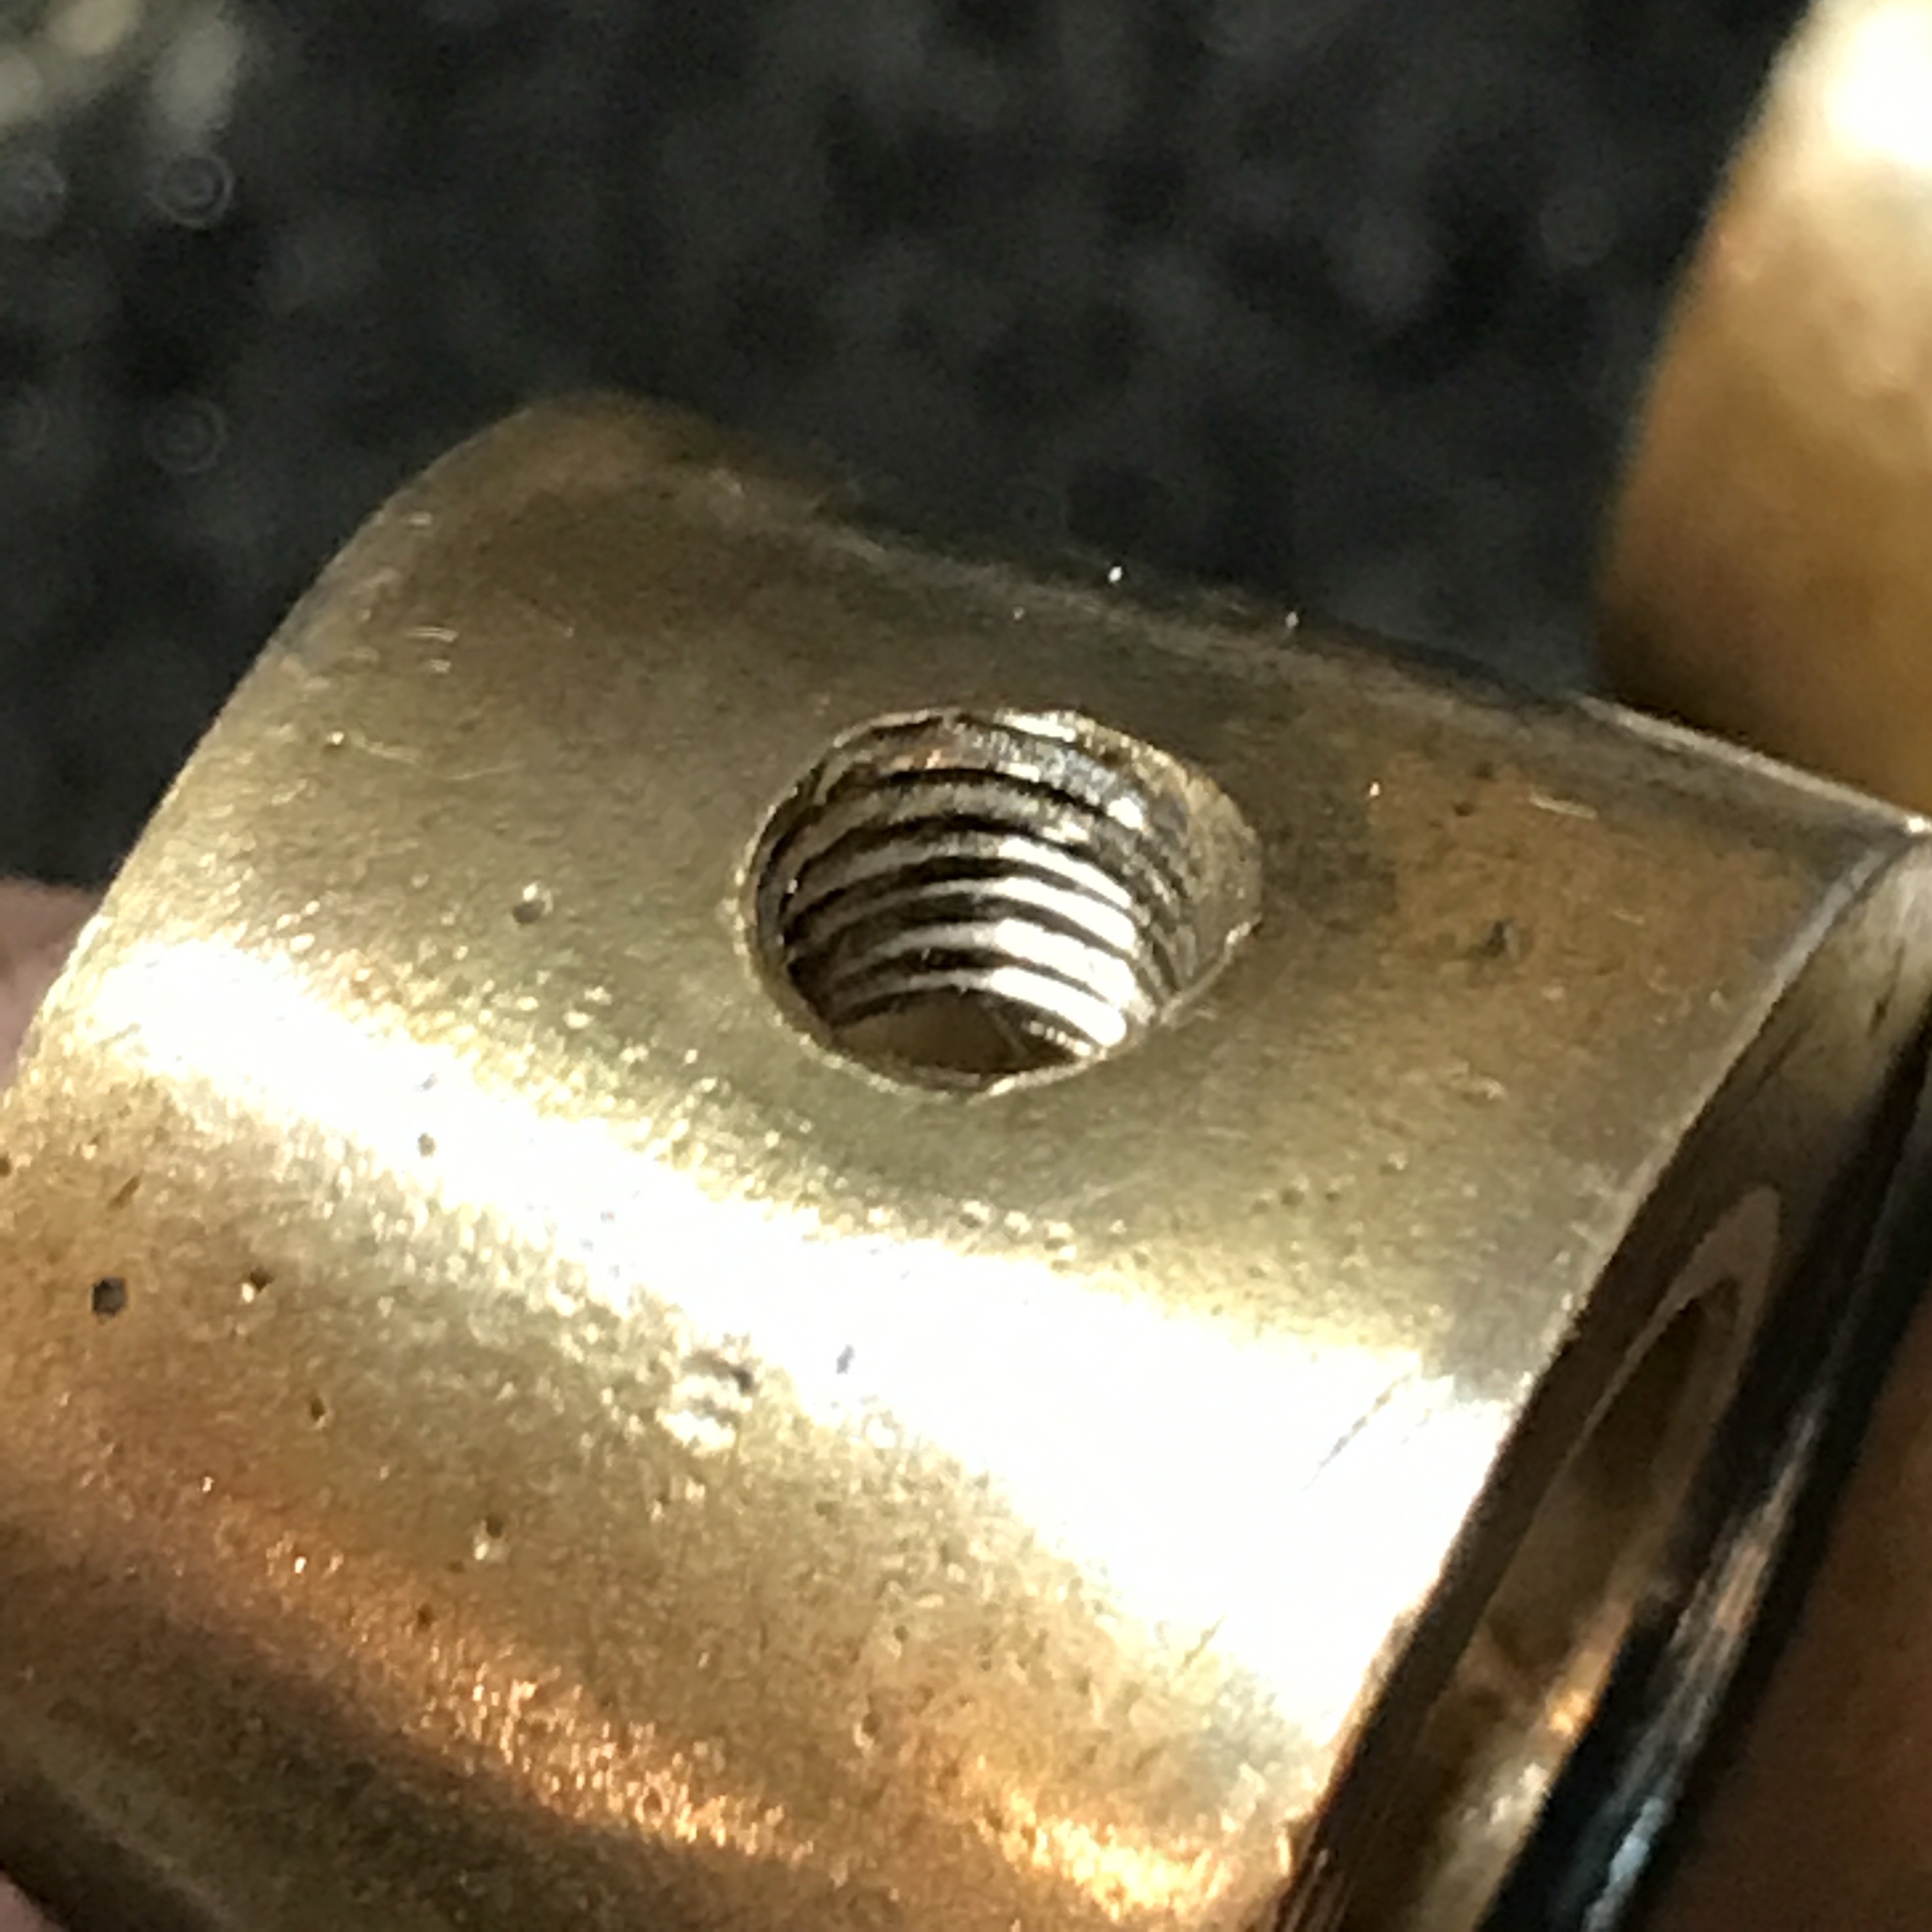
    Next was making the linkage ends. 


    The final steps will be to weld both ends on in the correct orientation. And so it goes…

  • Gas Tank Belt Tension Mount

    When I obtained this bike the belt tension lever, pulley assembly, tension “gate”, and one mounting block were not on the bike. All parts with the exception of the mounting block were in a separate box (thank God). So a new brass mounting block will need to be made. My expert local machine shop will be tackling making a duplicate as the one on the tank. Then we need to figure out the best adhesive to hold to tank.

  • Rear Wheel Belt Pulley Install

    Well this had been a day I’ve been anxious about for a while: removing original wood pulley and replacing with new one. Simple as it seems it is a complex endevour. The rear wheel has been completed with a new rim and spokes. The nine old brackets are being reused with stainless screws rather than rivets. 


    These bracket screws were left a bit loose to allow for removal and installation of the wood pulley. 

    We are now ready to remove old pulley. All old pulley to bracket screws were removed. Notice the unique style of the washers under the bolt head. 


    Next is pulling old pulley off. 


    New pulley slipped over brackets and all rim brackets tightened. 


    On to the truing stand to properly position the pulley to ensure it is true to the rim and has no runout. 


    Some of the brackets needed some straightening. Once on the rim we still needed to “adjust” some of the brackets to obtain zero vertical runout on the wood. 


    Then using a special made jig we clamped to the brackets the proper angle holes could be drilled through the wood from the inside. 


    Lastly the holes could be countersunk from the outside. 


    Now repeat for the other eight brackets!

    Hope to have tire mounted in the coming week. Thanks for reading. 

  • Rear Wheel Truing Prep

    With the wheel truing stand I have, it utilizes “cones” that are inserted into both sides of a wheel hub that allows for the wheel to be spun and checked for out of round, or true. The cones supplied with my stand work with most wheels, but the rear Excelsior wheel hub is pretty large. So I needed larger cones. Off to my machine shop for help. A few hours later we were all set and I could now use the stand with my rear wheel.


  • Schebler Carburator

    Had my carb gone over and rebuilt to ensure a perfect end result. This is one item I would have normally tackled but I have zero experience with this type of carburator. Now all I need to do is study up on the operation and tuning techniques, and be ready to install when the engine is done. For a small carb it sure is complicated! 

  • Gas tank, pedals, engine installed! 

    Progress continues in a positive manner. I am in the process of “mocking up” several components on the frame. Pedals, tank, and engine installed to get a better feel for overall approach. Rear wheel is about two weeks from being complete and installed. There is still ALOT to do! Many many parts still are needed. Overall I’d say I am at the 25% complete stage. But I am having a blast! 


  • More progress! 

    A quick update today. I moved the bike from my workbench after installing front end. Back to the rolling platform to prepare for pedal cranks and rear wheel install. 


    I was also able to “mock up” the new rim with old belt pulley and brackets. A decision will need to be made regarding final method to hold brackets to rim; either solid steel rivets (like the OEM) or bolts. More investigation in best method. One major factor if I end up deciding on rivets is to find the proper tool that can peen the steel head. More to follow. 

  • Front end work continues 

    After receiving my machining back it is time to assemble the front end. The new parts will be used to assemble the front end. Everything went together pretty good but each part had to be “massaged” a bit for proper figment. All said and done, we have a front end assembled except for the handlebars. Another big step!

  • Rear Wheel Work

    Well this is probably the most complicated part of the project: installing new wooden pulley on new rim with original brackets. Step one was to grind the heads off the rivets from the inside of the rim. Then drive the rivets out. After removing the brackets with the original pulley in place we will bolt the brackets and old pulley to new rim. Then remove the old pulley and place the new pulley over the old brackets. Next will be to screw the brackets to the rim and align the pulley. Finally one screw at a time will be removed and we will rivet the bracket to the rim. Wow! More to follow but this was a huge step forward! 

    ​​

    ​​


    ​​​